Tutorial: Using Stick It
- Read time: 3 minutes
- Written by: CraftersCompanion
Stick It is a great product and it is perfect with Crafter’s Companion intricate dies! It makes adding the intricate dies to your project so much easier than having to mess with liquid adhesive! Multiple card sets or party favours can be completed so much faster! And it even works with water coloured card stock as Dana demonstrates in her tutorial!
Crafter’s Companion Supplies:
Other Supplies: Neat & Tangled Sequins – Black, Sweet Heart Mix,
Hero Arts – White Embossing Powder
Step 1. Scribble Spectrum Noir Aqua markers on palettes. Slate, Charcoal, and Black
Step 2. Add water to the slate and press a strip of Crafter’s Companion Watercolour Card Stock into the colour. Allow to dry.
Step 3. Repeat Step 2 with the Charcoal Spectrum Noir Aqua Marker. Allow to dry.
Step 5. Repeat Step 2 with the Black Spectrum Noir Aqua Marker, but use less water. Set aside to dry.
Step 6. Stamp Wild Rose Briar with Versamark ink and heat embossing with embossing powder.
Step 7. Scribble Begonia, Blossom, and Rose Pink Spectrum Noir Aqua Markers on palette.
Step 8. Add water to the scribbles and colour flowers. Start with the lightest Blossom and paint the petals, allow to mostly dry. Then add Rose Pink, but colour only half or so of each petal and allow to mostly dry and last add Begonia to just the bottom part of each petal. Repeat for each of the flowers.
Step 9. Scribble the Moss Spectrum Noir Aqua Marker on the palette. Leaf Green ended up not getting used.
Step 10. Add water to the Moss colour and colour the leaves. The colour pooled and darken areas, so Leaf Green was not needed.
Step 11. Scribble Aquamarine to palette.
Step 12. Add a LOT of water to the Aquamarine and paint the light blue around the flower and leafs. Scribble more Aquramarine off to the side and add more blue ink as needed to the background. Set aside to dry.
Step 13. Cut a sheet of Stick It the same size as the black water coloured strip. Peel off the backing paper and smooth on the BACK of the strip.
Step 14. On the front of the water colour strip, place the Anniversary die on top. I lined up the water colour strip to the lines on my mat, then lined up the ruler. Then I made sure the die was resting on the ruler and added washi tape to hold it in place. Now the die will cut straight.
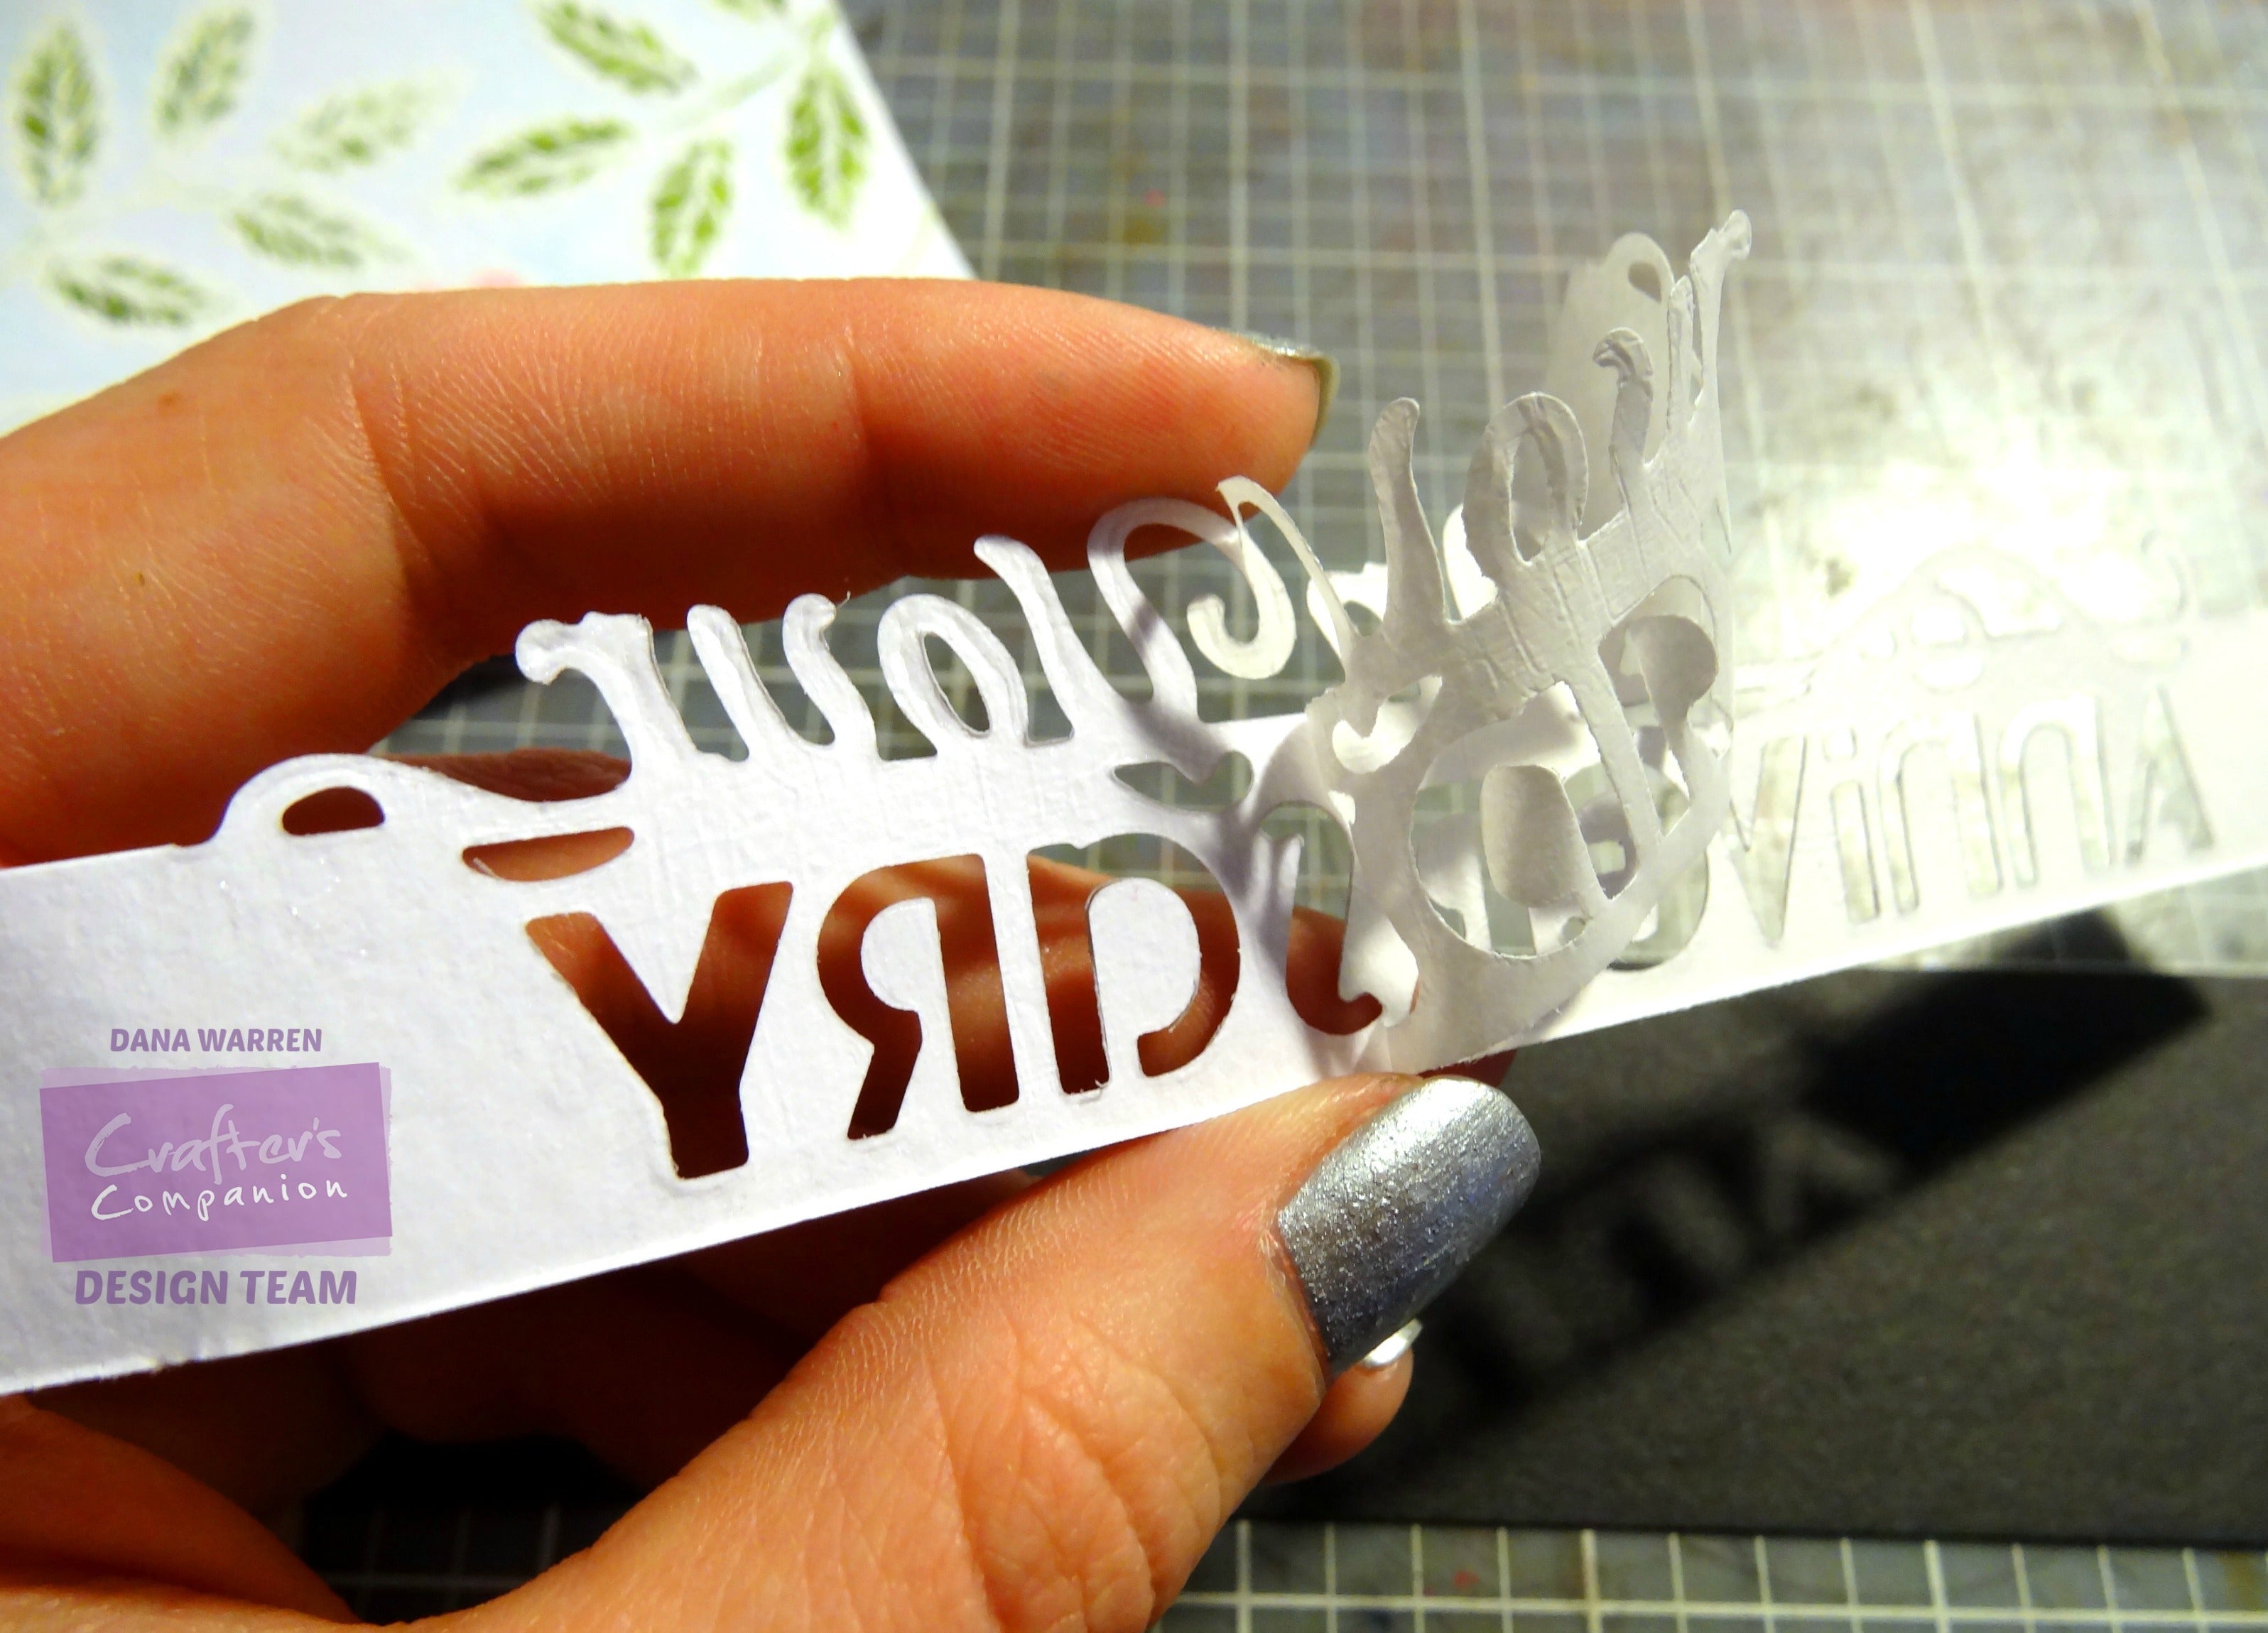
Step 15. Run the die through the die cutting machine. The die cuts great through the water colour card stock and the adhesive.
Step 16. The die cut strip was two wide, it hid a lot of the background and black card stock would be needed to help see the die cut.
Step 17. Cut the bottom part of the water colour strip.
Step 18. Peel back adhesive paper.
Step 19. Press the die cut to black card stock. Trim the top of the black card stock off.
Step 20. Add foam tape to the back of the black card stock.
Step 21. Add the black strip to the background panel and trim the overhang. Add a few sequins and add panel to a white card base.
We would love to see what you make! Share your projects and cards with us on our Facebook page, tag us on Instagram (#crafterscompanion), on Pinterest (@CraftersCompUK) or on Twitter (@CraftersCompUK)!


