Craft a Christmas: How to Make 3D Christmas Ornaments and Decorations
- Read time: 9 minutes
- Written by: Crafter's Companion
It’s time to Craft a Christmas, and what better way to get right into the festive swing of things than by making your own beautiful decorations with the Gemini 3D Christmas Ornaments and Gemini Christmas 3D Scene Die collection!
This range has everything you need to craft the most stunning Christmas decorations from card – ready to stand on a shelf, mantlepiece or window. Give perfect, personalised gifts for family and friends or fill your own home with all the joy of the season!
Today we’re going to take you step by step through how to make both Gemini 3D Christmas Ornamentsand 3D Christmas Scene ornaments so whether you’re a confident crafter or a bit of a beginner, read on for more festive fun!
What are Gemini Christmas 3D Scene Dies?
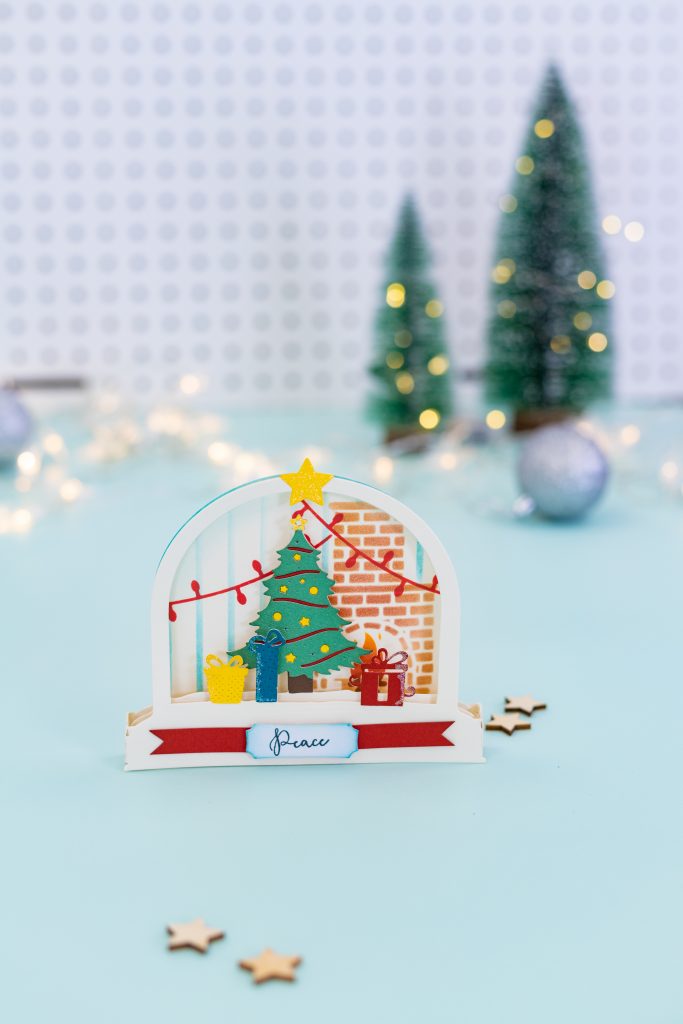
With the Gemini Christmas 3D Scene Dies you can craft beautiful festive decorations from card, able to stand on their own on a shelf, mantlepiece or window.
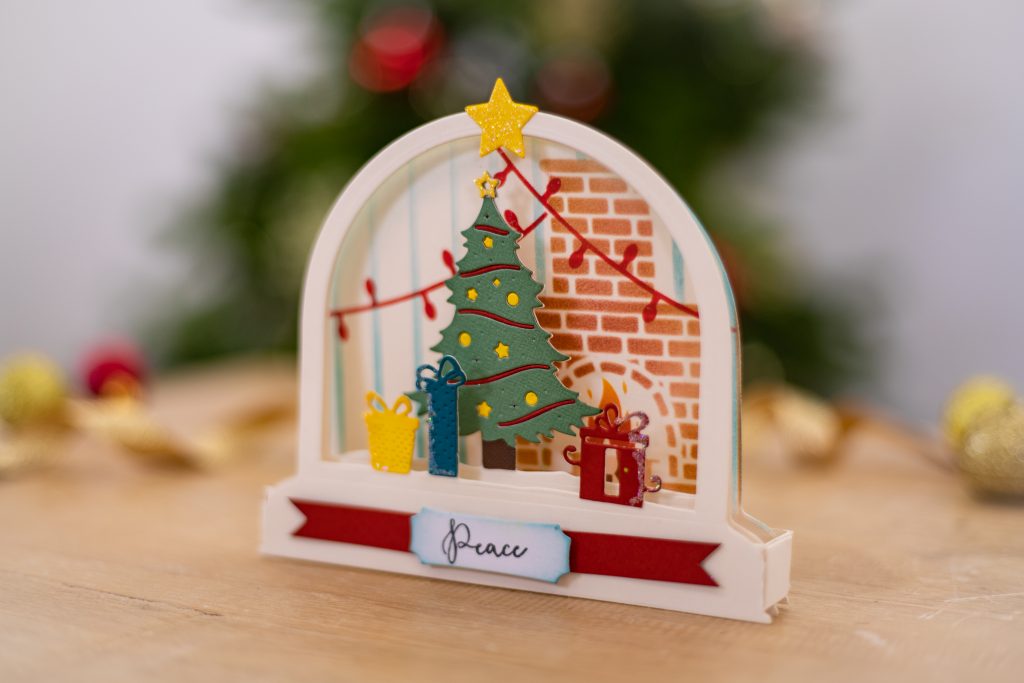
Each ornament creates a cosy and festive scene, set inside a sweet dome-shaped frame, complete with a base. The included stencils are the perfect way to add even more depth to your ornament by creating coloured background details such as a log fire, and twinkling stars.

To create your 3D Christmas Scene decoration, you will need the O’ Christmas Tree set which includes dies to create the outer frame and base.
What are Gemini 3D Christmas Ornaments?
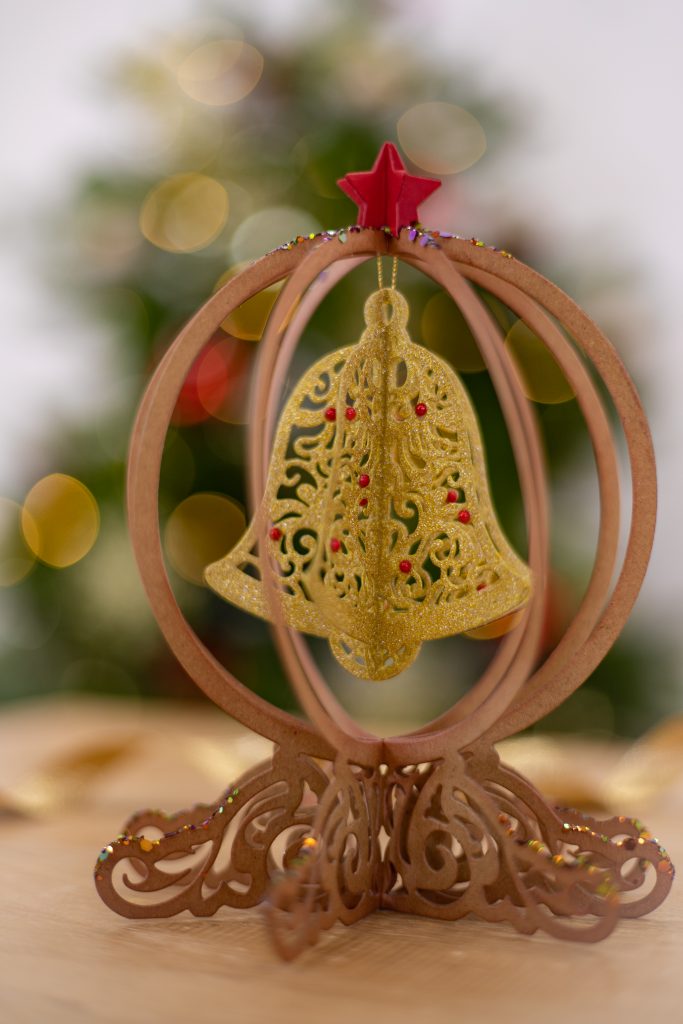
This collection is also designed to create a beautiful, free-standing Christmas Ornament from card.
The ornament is formed from a spherical shaped frame with a standing base of beautiful swirling filigrees and topped with a Christmas star! Inside is a stunningly intricate 3D cut-out, beautiful from any angle, ready to hang, twirl and twinkle in the candlelight.

To create your Festive Ornament decoration, you will need the Christmas Elegance set which includes dies to create the outer frame and base.
Decorate and embellish in your own style to make customised Christmas Ornaments according to your own style or festive theme!
How to create a Christmas 3D Scene Die ornament
Each set includes easy to follow instructions, but to make things even more straightforward we’ve laid out some step-by-step instructions for you here…
- Using the outer frame die from the O Christmas Tree set, cut out one panel from card to form the Back Panel of your decoration
- Using the Aperture Window die from the O Christmas Tree set , plus your chosen Scene Die, cut out one panel for the second layer of your decoration
- Next, swap the Scene Die for a Focal Element and cut out with the Aperture window die to form your front layer

- Cut out two Side Panels from the O Christmas Tree set using thick cardstock plus your chosen embellishment pieces – you should now have all of the elements shown in the picture here:
- If you want to colour, gild or embellish your ornament – now is great time to get creative before you begin assembling
- Apply adhesive to the reverse of your Back Panel tabs

- Stick inside your Side Panel pieces, like a hinge for a door. You should now have the result shown in this image:
- Take your two inner frames with the decorative elements and, one at a time, insert the tabs into the slits on the side panels
- Once you’ve popped the tabs through the slits, adhere them to the outside of the Side Panels using strong adhesive

- Take the Front Piece and apply adhesive to the front of the tabs, fold the tabs backwards and adhere to the inside of the side panels- your decoration should now look like this:
- Adhere the small side panels to secure the tabs and make your decoration sturdy
- Decorate your ornament with the embellishment dies included in the set
How to create a 3D Christmas Ornament
Each set includes easy to follow instructions, but to make things even more straightforward we’ve laid out some step-by-step instructions for you here…
- Choose your cardstock and using the Outer Globe die from the Christmas Elegance set run through your Gemini die cutting machine. We recommend creating between 6 to 8 shapes to achieve the best results
- Choose the inner decorative element for your ornament and run through your die cutting machine to create the same number of shapes as in step 1
- If you want to colour, gild or embellish your ornament – now is great time to add those extra bits before scoring and assembling your decoration
- Fold and burnish each of the die-cut decorative pieces and the outer globe frames using the scorelines created by the dies

- Apply adhesive using a glue tape pen to the reverse of one half of your die cut outer globe frames and stick to a second folded outer globe frame as in the image here:

- Repeat the previous step with the rest of the outer globe frame die cuts until you create a frame as show in this image:
- Follow the same process to stick each of the die cut decorative elements together, then add thread to hang in the centre of the aperture
- You’re done! All that’s left is to decide where to display your beautiful 3D Christmas Ornament…

What Christmas 3D Scene Die sets are available?
Whatever your style, there’s a beautiful 3D Christmas Scene Die for you! From cosy Christmas nights by the fire to an atmospheric Winter’s night. Let’s take a look at all of the designs…
O’ Christmas Tree: As well as the dies to create the outer frame and standing base, this set includes dies and stencils to create a cosy scene of a beautiful, decorated tree with presents nestled underneath, ready for Christmas morning!

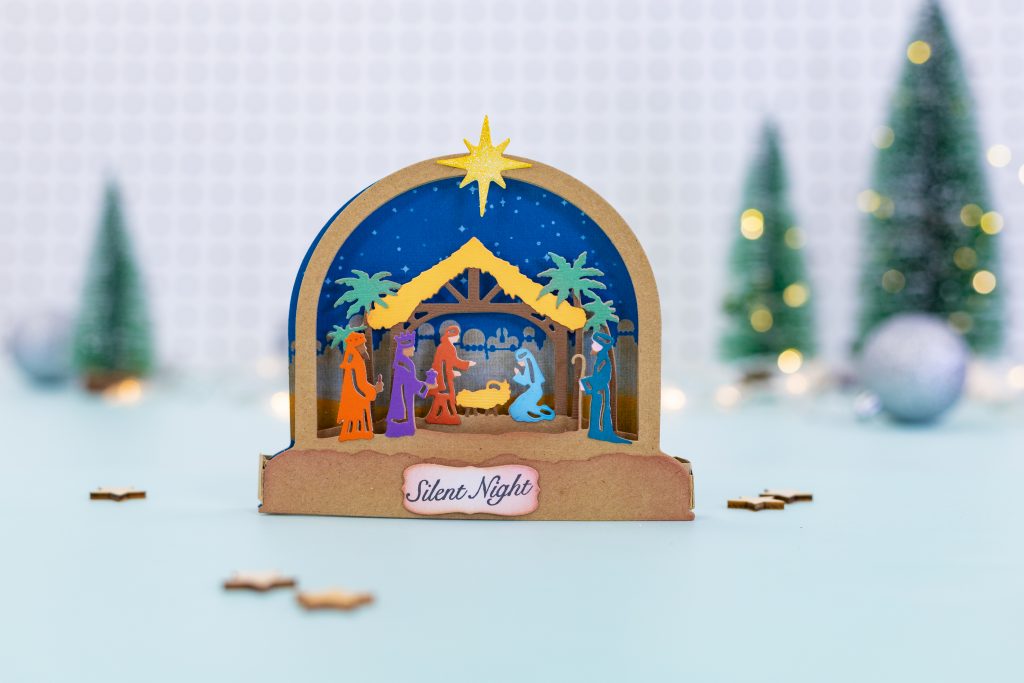
Away in a Manger: This set includes 5 dies and stencils to create a traditional nativity scene, complete with Wise Men, Shepherds and a shining star, ready to pop inside your dome shaped base.
Christmas Village: This set includes 5 dies and stencils to create a frosty and festive town scene, featuring a street of traditional houses and fir trees, ready to pop inside your dome shaped base.

What 3D Christmas Ornament designs are available?
There’s a whole selection box full of seasonal designs on offer in the Gemini 3D Christmas Onrament Collection, from traditional trees and bells to beautifully wrapped gifts and elegant snowflakes. Here’s the full run-down..
Christmas Elegance: As well as the dies to create the outer globe frame and standing base, this set includes a Christmas tree shaped cut out to hang inside.
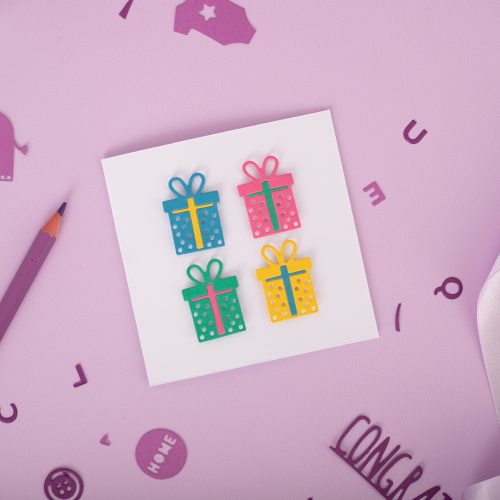
Seasonal Opulence: This set includes two dies to create two interchangeable inner designs, o
one in the shape of a beautifully wrapped gift, and the other in the shape of a intricately decorated teardrop-shaped bauble
Touch of Winter: This set includes 2 dies to create two interchangeable inner designs, one in the shape of a jingling bell, and the other in the shape of an elegant snowflake
There’s so much opportunity to have festive fun with colour, glitter, sentiments and different effects to create a festive ornament that’s perfect for the occasion.
What can I use 3D Christmas Ornaments and Christmas 3D Scene Die ornaments for?
These sets are the perfect way to craft beautiful Christmas ornament, so you can deck your halls with beautiful handmade treasures in your own style! There are so many other cute ways these decorations can be used to add some extra sparkle to your holiday season…
- Give out to family and friends instead of Christmas cards, a sweet handmade ornament just for them!
- Add the name of your Christmas dinner guests to create the most eye catching place settings for your festive table
- Create customised decorations for special and milestone years such as a new baby’s first Christmas

We can’t wait to see what you make with the Gemini 3D Christmas Ornament Collection!
There’s so much going on at Crafter’s Companion for Craft a Christmas! To find out more check out our Craft a Christmas web page and follow us on Facebook UK, Facebook USA, Twitter, Instagram UK, Instagram US, Pinterest UK or Pinterest US And don’t forget to share your festive makes using the hashtags #craftachristmas and #crafterscompanion.
